Page 3
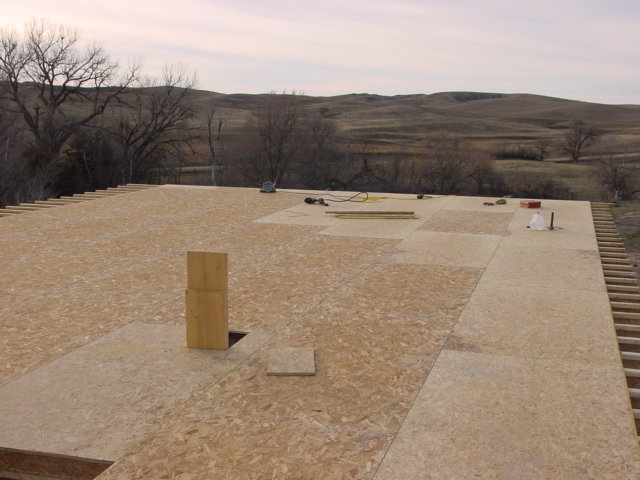
Another layer of OSB over the joists has now created the upstairs floor. The 2x12's in the lower left extending upward are the rail supports for the elevator. The hole for the shaft hasn't been cut at this point.
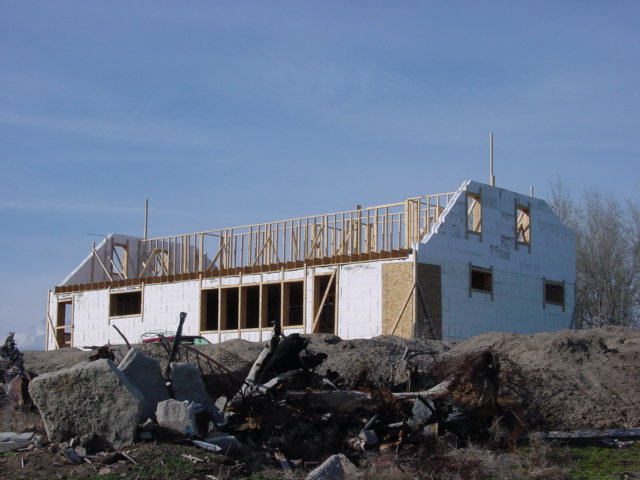
Next we framed up the interior walls which make up the bedrooms and followed with the gable end walls made of the polysteel. Before the concrete could come, we lost all of the interior walls and Polysteel forms twice to high winds of tornadic thunderstorms. The concrete did eventually get poured but due to the mix being too wet, we had three "blow-outs" in the forms. It was a bit hectic, but with some quick patching with plywood, we managed to get the concrete where WE wanted it.
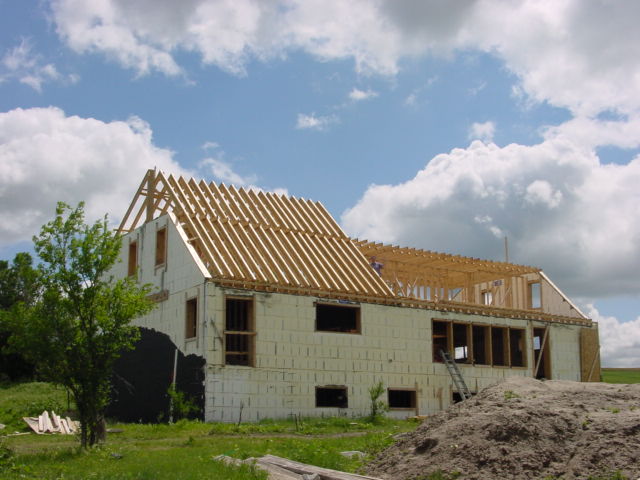
Next we installed 2 by 6 horizontal beams above the framed walls. On these, we then began the arduous task of installing the rafters. The rafters were 9 inch I-beams (same as floor joists, only smaller) put up in two pieces. This was one job we were very glad to be finished with!

To get each rafter into place, first we slid up each rafter "half" from the ground.
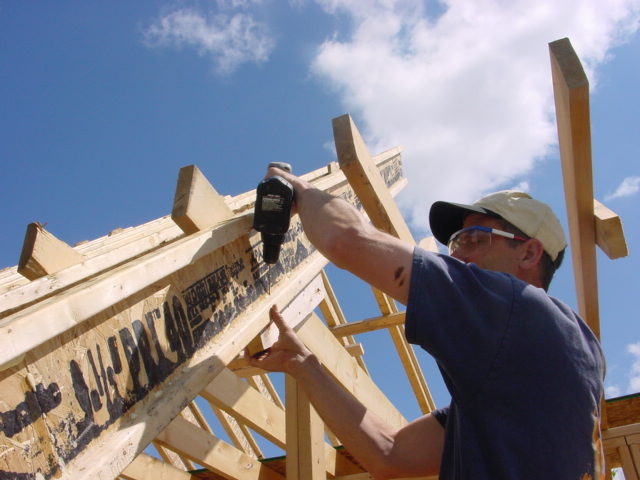
Lisa would then quickly set the bottom of the rafter in position and screw it in place. I, then, would temporarily screw it onto one of the horizontal 2 by 6's. Then....
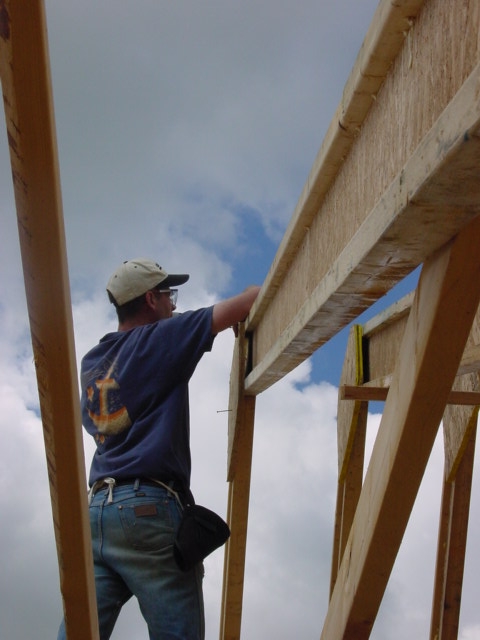
... I scampered up to the top ridge and screwed the first half of the rafter to its opposite partner. We then "tied" each pair of rafters to its neighbors on the right an left. This continued for 47 sets of rafters, Phew!

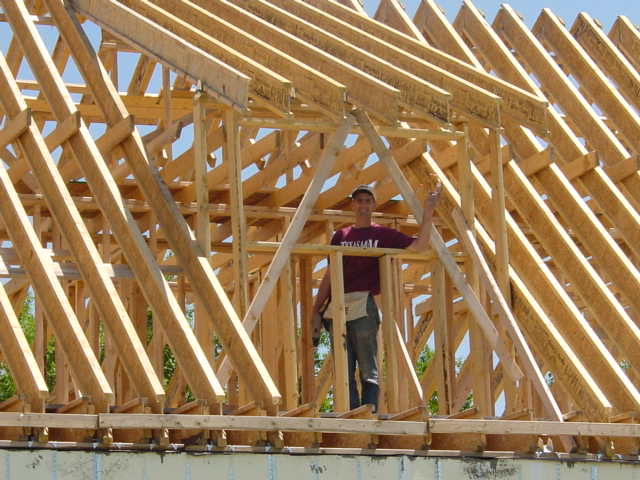
Here you can see all of the rafters in place along with the dormer.
Here I am in Amelia's bedroom window - the dormer!